Lawn Striping: How to Mow Ballpark Grass Patterns in Your Yard
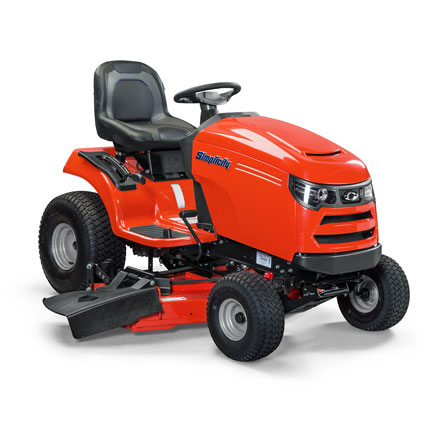
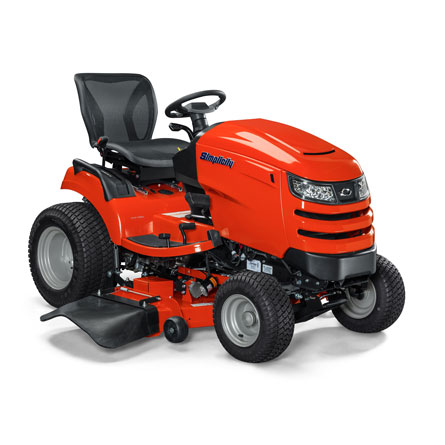
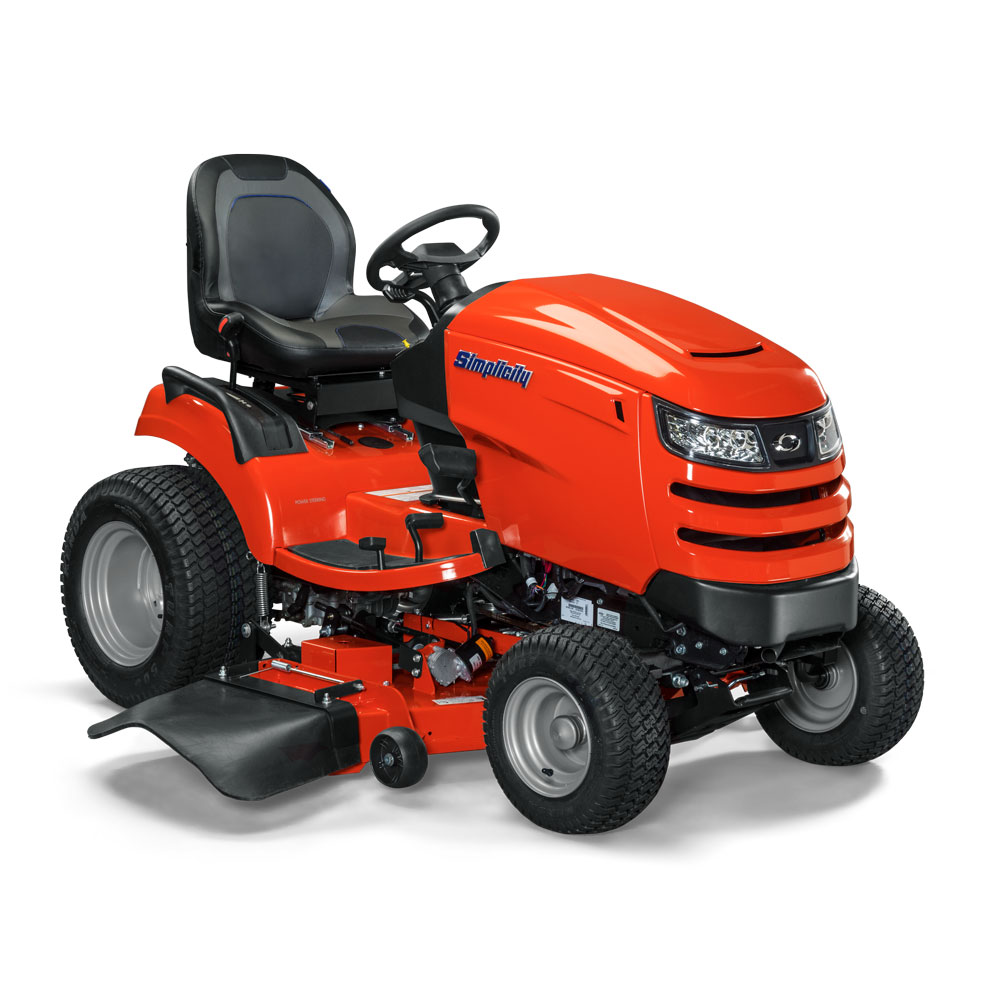
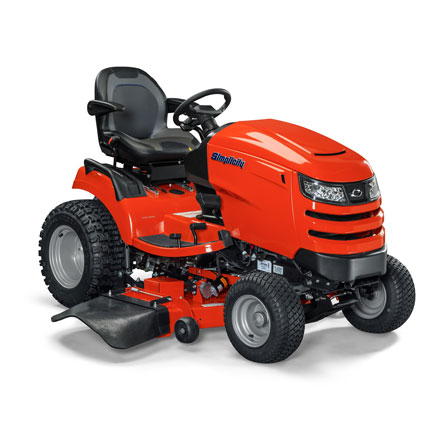
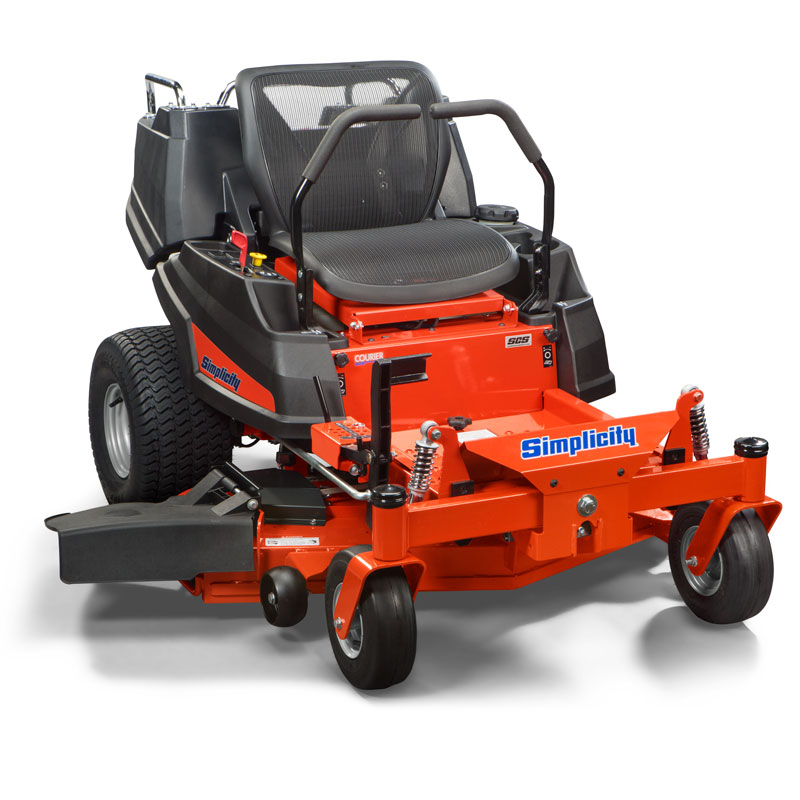
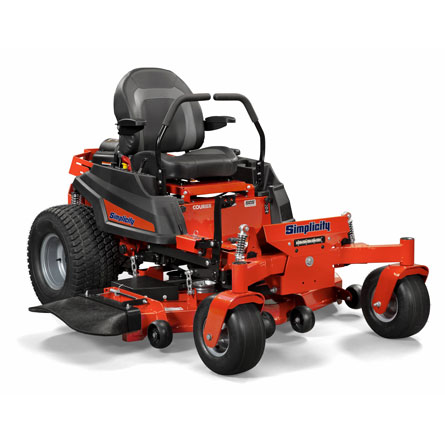
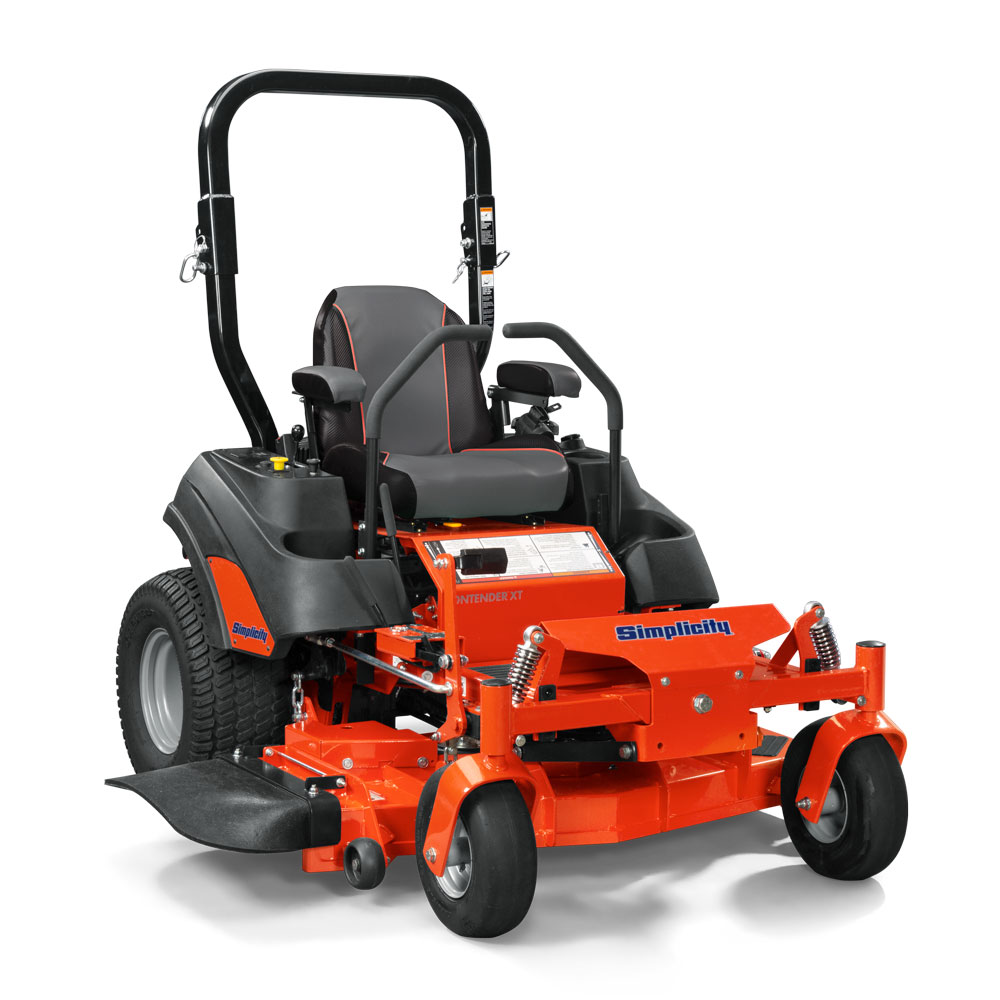
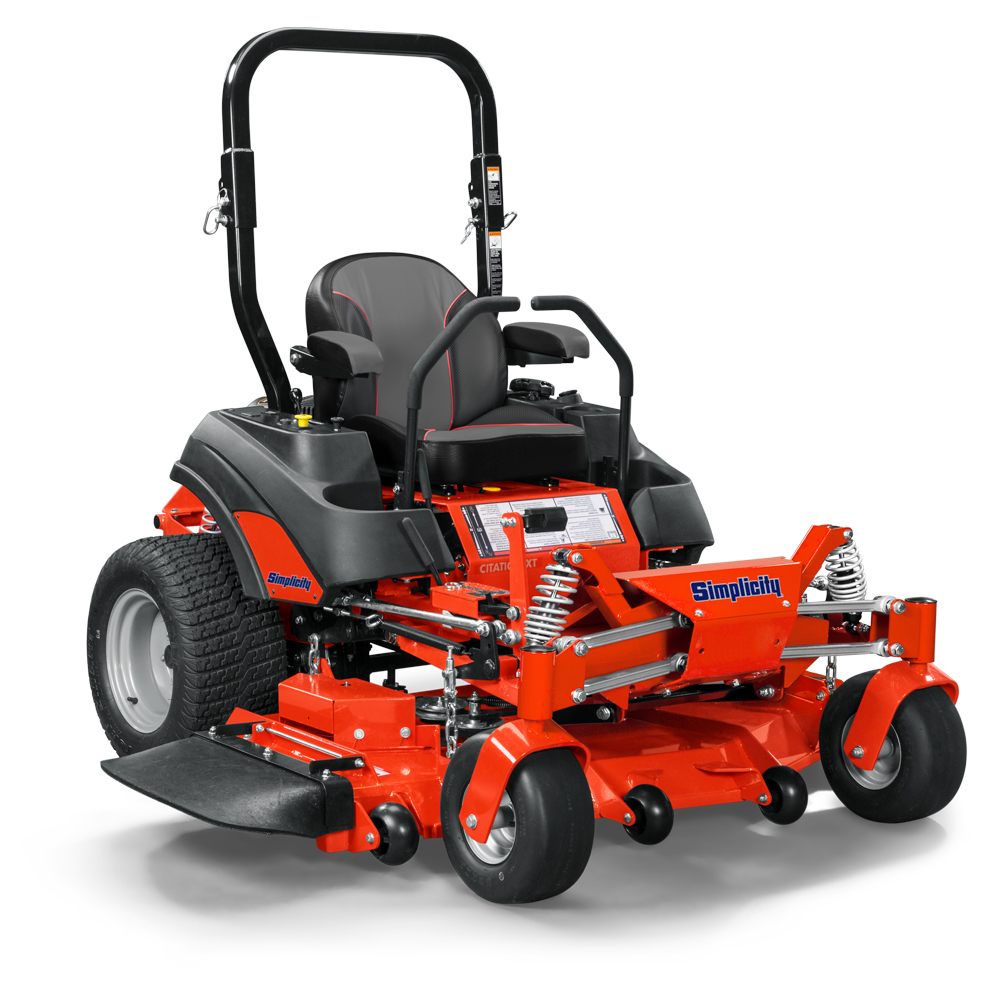
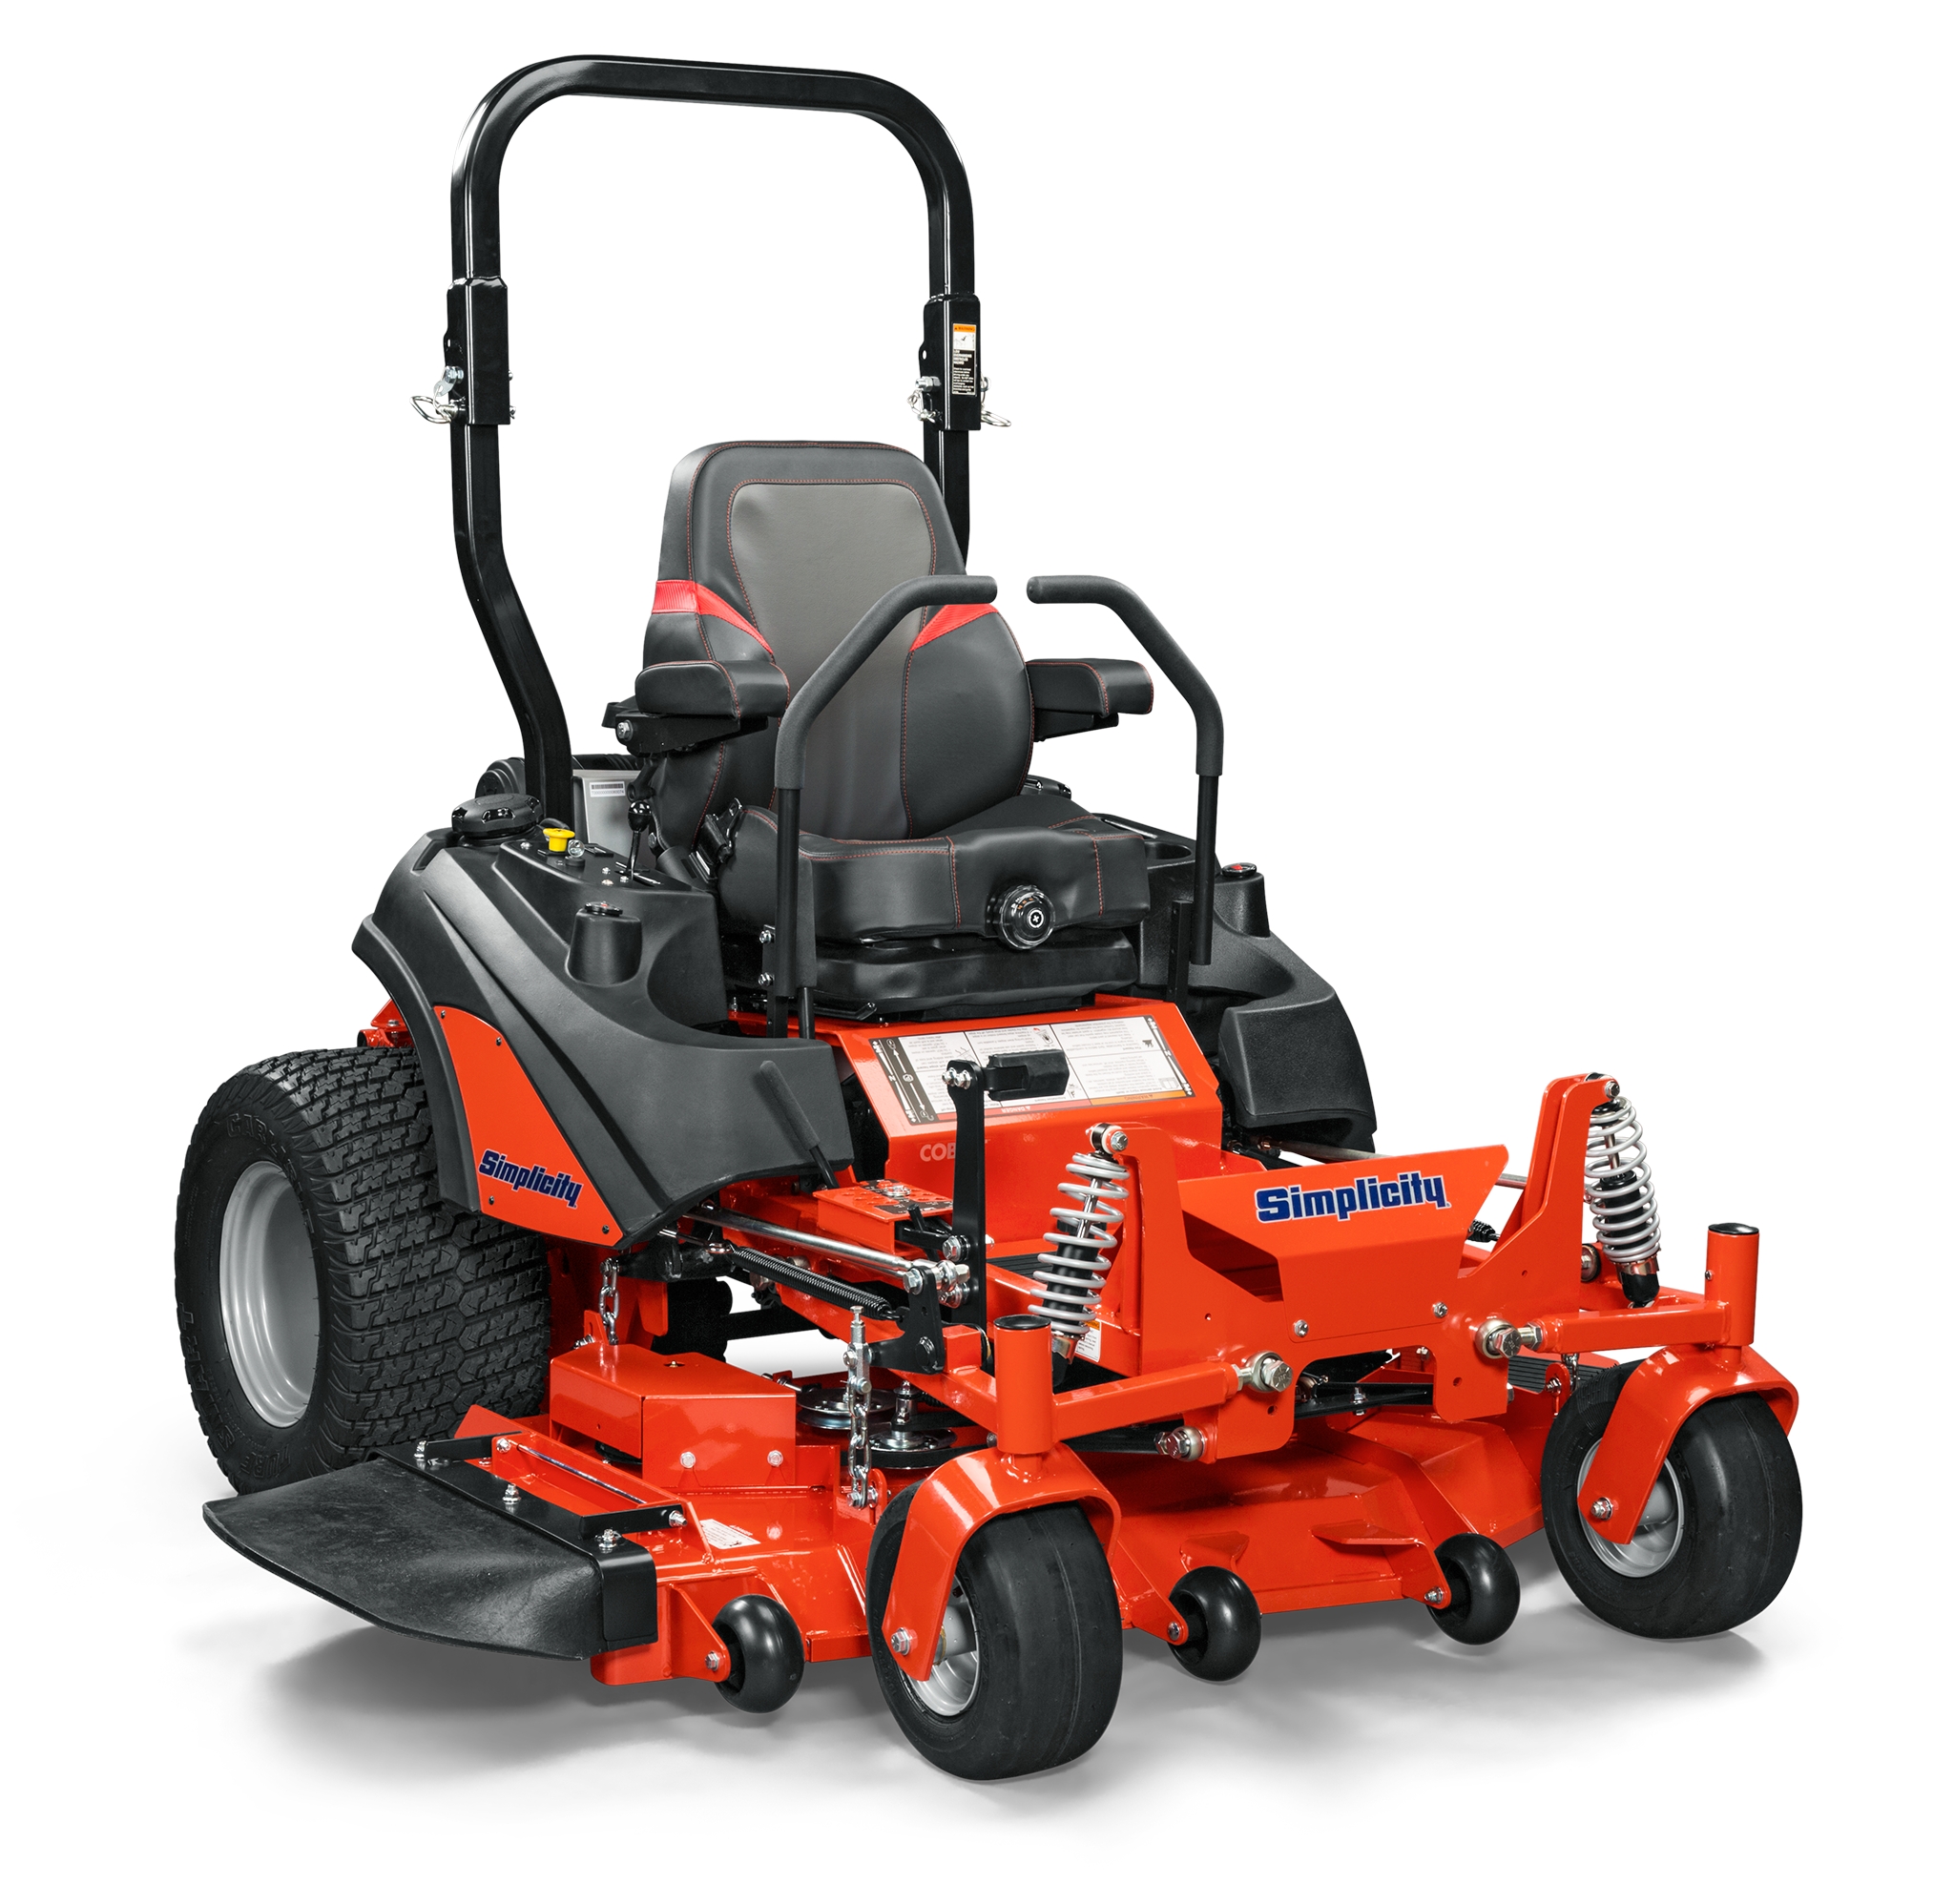
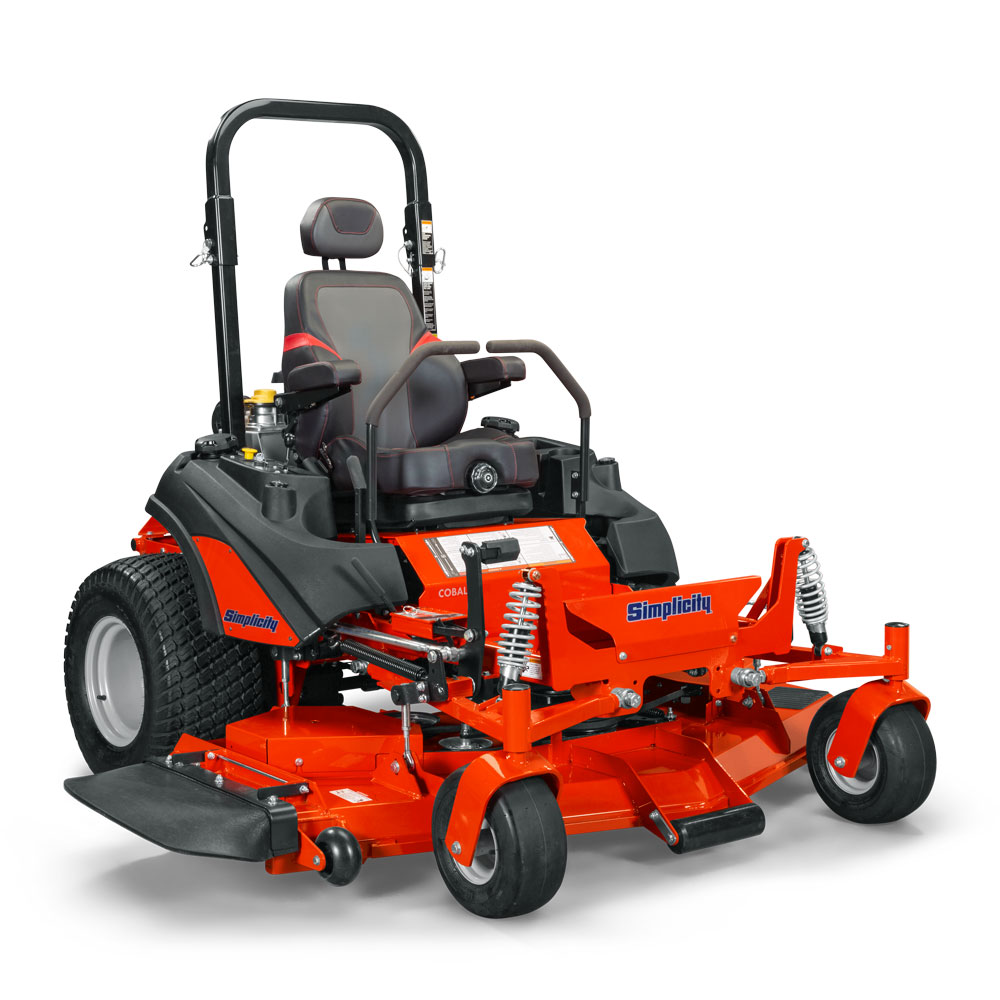
It’s now easier than ever to make your lawn the envy of the neighborhood with eye-catching grass patterns created by Simplicity® lawn tractors. Equipped with a Free Floating™ mower deck with full-width rollers, every Simplicity tractor lets you create lawn-striping patterns that complement a beautiful lawn.
What Is Lawn Striping?
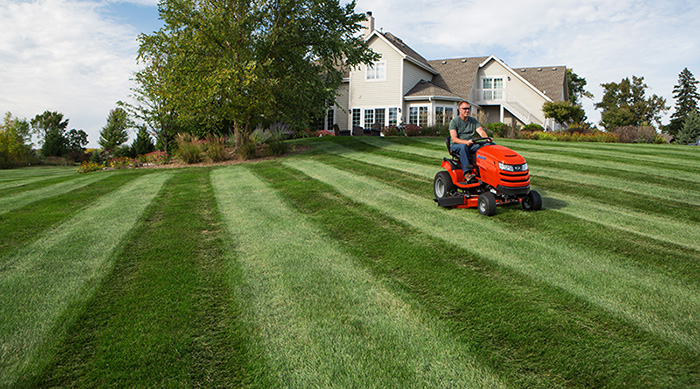
Full-width rollers, mounted at the rear of the mower deck, support the weight of the mower and bend the grass blades down in the direction traveled. Light and dark lawn stripes are created by the way sunlight reflects off the grass. Stripes coming toward you will appear darker green; stripes mowed away from you will appear lighter green.
Lawn Striping Tips to get Stripes like the Pros
A beautifully striped lawn can have enormous curbside appeal. Here are some tips on how to create professional-looking ballpark stripes:
- Start by planning the grass pattern on a piece of paper. Adding different shades of green to each ribbon of grass can help you visualize what the lawn striping pattern will look like. As you become more experienced, you can create the patterns as you mow. Keep in mind that what works on paper may not work in the grass — let trial and error be your guide.
- Never cut more than 1/3 of the grass blade when mowing. If necessary, mow more often to achieve this condition. Make sure the mower blades are very sharp to assure a clean cut as dull blades tear the grass and stress it. To assure turf health, mow as little as possible when grass is under heat stress.
- Mowing patterns and designs can be simple (straight lines or checkerboard grass patterns), or something more complex (diamonds or bullseye lawn stripes). Let your imagination be your guide. For simple designs, you can mark off the first stripe using a piece of string. The key is to mow a straight line and then use it as a guide for the rest of the stripes. With practice, mowing straight lines without string will be easier — just pick a point in the distance and mow toward it. If a line is crooked, or a mistake is made, go back two lines before it and start over.
- Making sharp turns when mowing can damage grass, so mow in slow “Y” turns and line the mower up well before starting the next lawn stripe. Once the design is completed, make several “clean up” passes around the grass pattern to create a border and smooth out the turnaround areas. The number of passes will depend on the design and yard.
- Mowing each line once is sufficient as too much creates wear and stress to the lawn. With the mower deck disengaged you can go back after mowing and run the full-width rollers over every other stripe to etch in the pattern. This can also be done to freshen up the entire design at any time without mowing, as it’s the rollers that make the mowing patterns.
Find more Lawn Striping How-To Videos > - One tip for enhancing the grass pattern is to spray a light mist of water (for one minute or less) over the turf prior to showing it off to guests. The water droplets will help reflect light on the pattern and add contrast to the light and dark sections.
- Always alternate the mowing direction every two weeks or sooner, depending on how often the grass pattern has been mowed and be sure to avoid any “grain” in the grass, which can adversely affect its health. Also, changing the pattern reduces wear from tire marks and improves overall turf quality.
If you want more inspiration, check out these awesome lawn striping photos from Simplicity tractor owners or find more how-to articles on mowing grass patterns now.


